

Birthdays, anniversaries, and other important milestones remain incomplete without gifts and cards. And nothing says love and appreciation like handmade cards! Handmade gifts require time, effort and creativity which is why receiving them always feels special. While store-bought cards are fancy with stunning titles, poetic lines, and artistic layouts they can never convey the love and replicate the personal touch that handmade cards give.
If you are looking to prepare handmade cards within minutes using easy-to-find supplies, here are a few steps for you to follow. Before you begin, make sure to collect plain paper such as project paper or chart paper that features a certain hardness required for a card. Make sure to bring other stationery supplies such as a notebook, pens, glitter, crayons, stickers and more as per your preference.
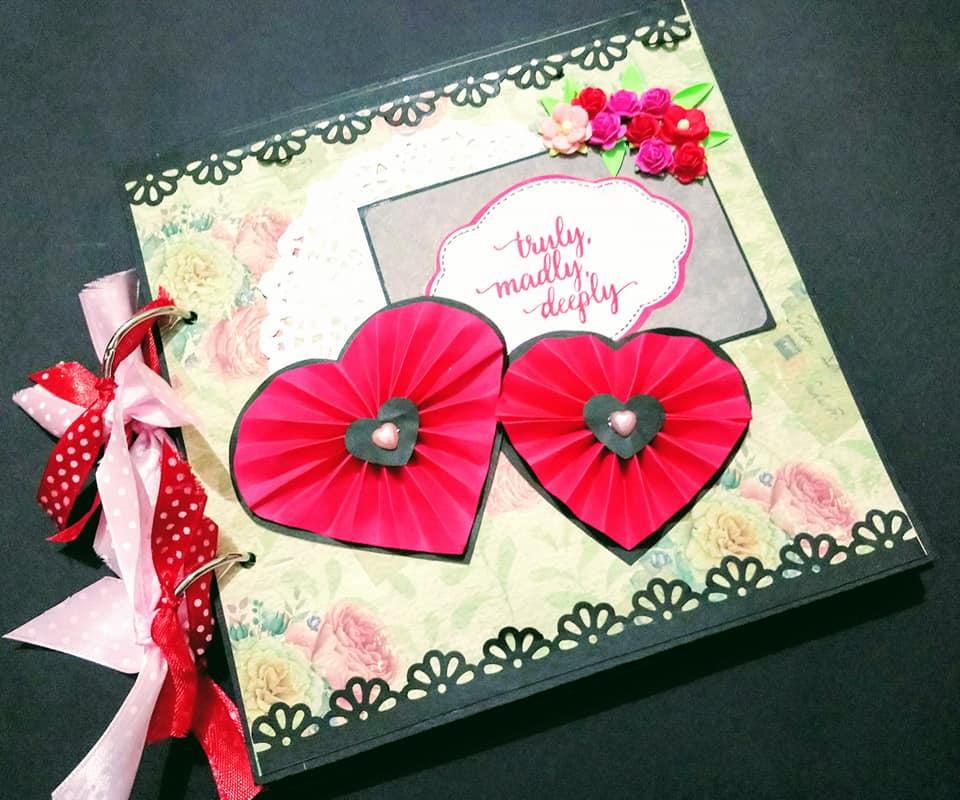
Step 1: Draw Inspiration and Create an Outline of Your Card
Before you begin, make sure to look at creative handmade card ideas on the internet. You can copy a design, however, if you want to draw inspiration, it is better to have a Classmate notebook handy. You can use your creativity and research to create a basic outline of how your card will look like. This visual will help you execute your plan in a simpler fashion.
Step 2: Choose Your Desired Size, Shape and Colour of Paper
For those with minimal artistic skills, simply choosing an elegant paper with an attractive colour can be good enough. However, make sure the colour matches the occasion and the receiver’s personality. For example, if your card is a birthday card to wish your mother, using her favourite-coloured paper would definitely get you some brownie points.
Choose an appropriate size and shape for the paper too. If you enjoy having cut-outs and more on your cards, be sure to add them as they will make your card more appealing.
Step 3: Outline your art on the front cover before filling in colour
If you want to draw objects or write something on your card, be sure to use a PaperKraft pen as I write smoothly and can be perfect for your basic card design. You can also look at some patterns from wedding invites and more and trace them onto your card for a beautiful front cover. Stickers are also a great way of decorating your outer flap for an attractive design.
Step 4: Write a meaningful wish
Instead of copying an artful poem off the internet or quoting something hugely philosophical, use the inner side of your card to write a genuine wish. Including an inside joke or alluding to a previous meaningful conversation in your wish is a sure way of winning the receiver’s heart. Use glitter pens or sketch pens for the same. For borders, you can also choose washi tape or glitter tape! Make sure to keep your inner page simple to let your writing shine.
Step 5: Find a suitable envelope
For a special card, you must have a special envelope too. This way the receiver can store the card for longer without it being damaged in any sense. You can use an empty white envelope and decorate it with the colours used on your card to tie the entire creation together.


